Looking for a citrusy and bright dessert to make this summer? Look no further.
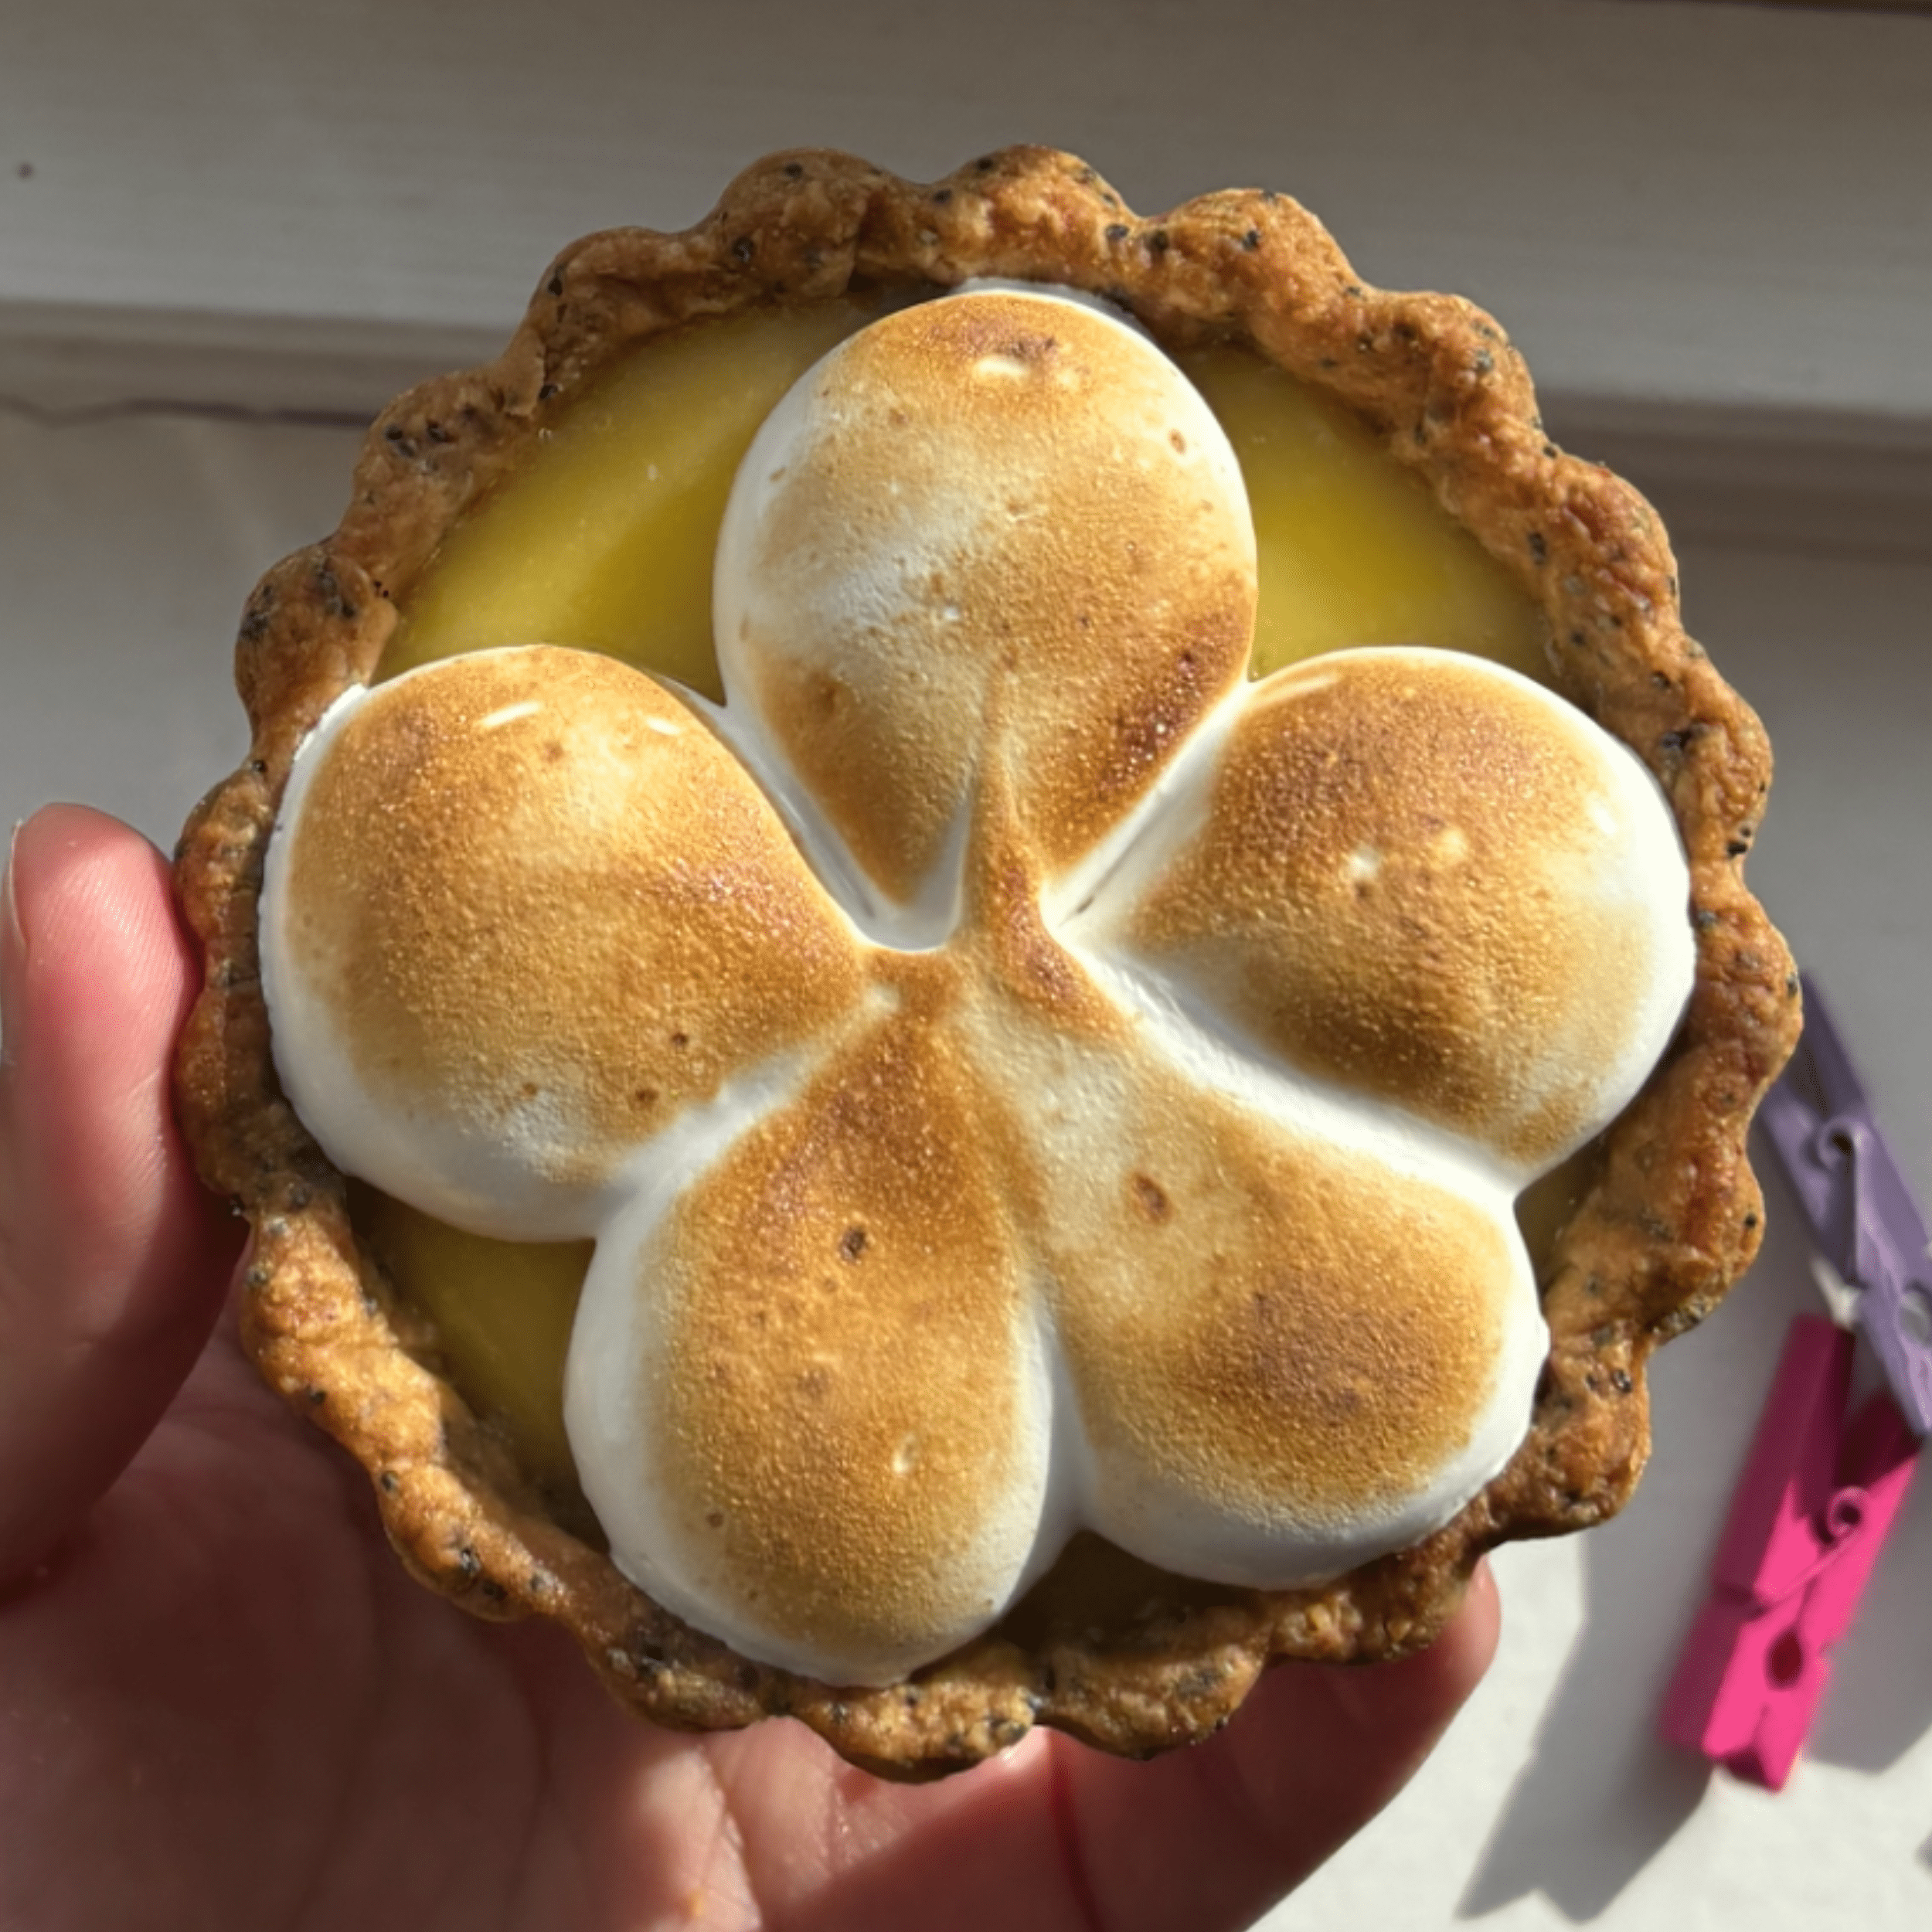
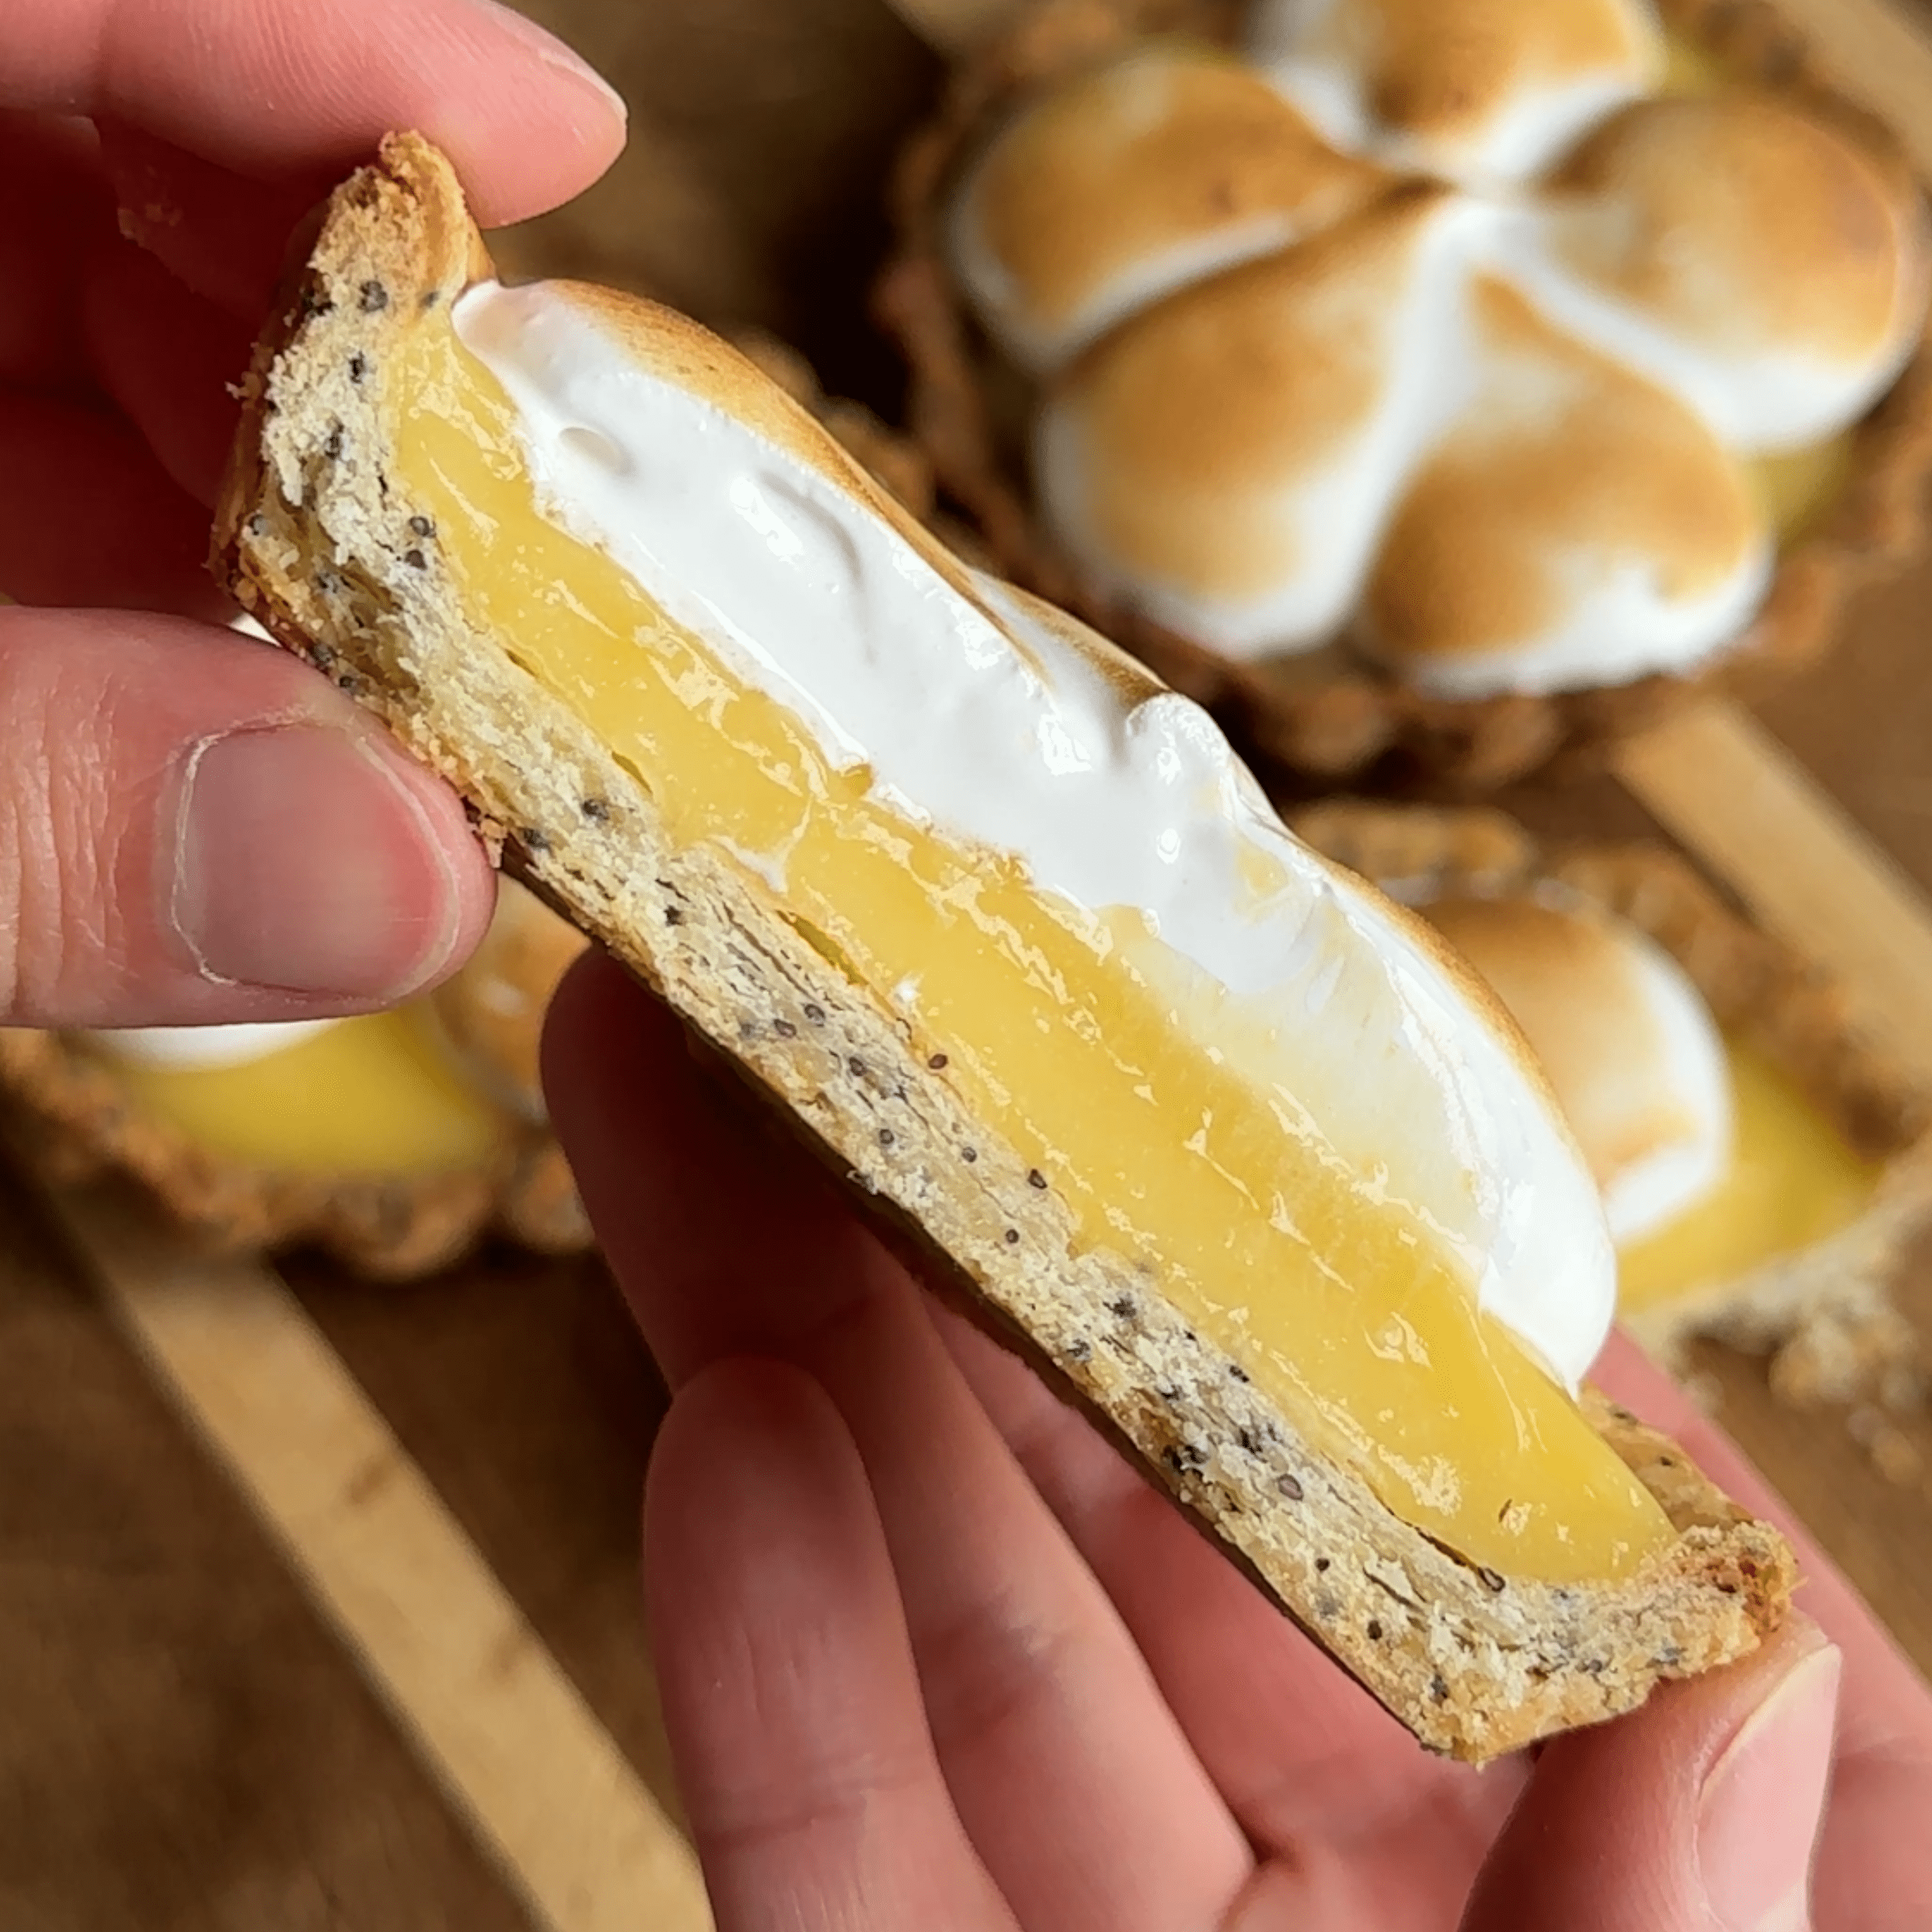
This is my lemon meringue tart recipe and it’s one of my favourites to make during the warmer seasons. This tart has a poppy seed biscuit base that is buttery, flaky, and salty. It’s filled with my famous lemon curd that perfectly balances the crispy base. Finally, it’s topped with a silky smooth meringue that’s slightly toasted.
I also like to make these in a cupcake tray to make extra petite lemon tarts that is almost too cute to eat.
Yield: 6x 10cm wide tartlets
INGREDIENTS:
TART SHELL-
- 200g AP/Plain Flour
- 3tbsp Granulated Sugar
- 1tsp of Salt
- 1tbsp Lemon Zest
- 2tbsp Poppy Seeds
- 100g Unsalted Butter, cold and cut into cubes
- 4-6 tbsp Water, ice cold
LEMON CURD-
- 1 Lemon
- 1 Egg, Large
- 1 Egg Yolk
- 75g Granulated/Caster Sugar
- Pinch of Salt
- 50g Unsalted Butter
MERINGUE-
- 2 Pasteurised Egg Whites (if you can only find carton egg whites, use 60ml)
- Pinch of Cream of Tartar
- 120g Caster Sugar
- Splash of Vanilla Extract
- Pinch of Salt
STEPS:
TART SHELL-
- Combine flour, sugar, salt, lemon zest, and poppy seeds in a bowl
- Add butter. Using your fingers, press and rub the butter into the dry mixture. Once it reaches a sandy texture and there are no large chunks of butter remaining, move onto the next step
- Gradually add the ice cold water one teaspoon at a time and combining the mixture in between each addition of water. When the mixture begins to form a dough but there are still a lot of dry flour around the bowl and crumbly parts of the dough, stop adding water. Transfer the mixture onto a clean work surface
- To create crispy layers in the tart shell, do not knead the dough. Instead, using your hands, press the crumbly dough into a rectangle on the work surface. Using a bench scraper, cut down in the middle and scoop one half of the dough and stack it onto the other. Press the dough down and form a rectangle once again and repeat this stacking processes 4 more times. You will begin to see the layers form in the dough and become a cohesive dough that is no longer crumbly
- Wrap the dough in cling film and leave it in the fridge for at least 2 hours to fully chill
LEMON CURD-
- Zest the lemon and add it into the saucepan along with all of its juice. Then add the egg, egg yolk, sugar, and salt. Whisk until it’s well combined
- Transfer this to the stove and cook on low-medium heat. Stir continuously until the mixture thickens up
- Once it’s thickened, take it off the heat and add in the butter. Stir until it’s fully incorporated
- Strain it through a sieve to get it extra smooth
- Cover it with a piece of clingfilm pressed right against the curd. This will prevent the curd from forming a layer of skin as it cools down
- Place it in the fridge to cool completely
BAKE TART SHELL-
- Pre-heat oven at 180°C
- Lightly flour your working surface and the surface of the tart dough
- Using a rolling pin, press the cold dough to flatten then roll into a thin rectangular sheet of dough (around 0.3cm thick). Cut the sheet of dough into squares larger than 13cm by 13cm. This will ensure that they are big enough to cover the surface area of the 10cm diameter tart moulds
- Gently lay the dough over the mould and press it in. Use your fingers to help the dough into all the folds and ruffles of the tart mould. Carefully roll the rolling pin over the edge of the metal tart mould. This will cut the dough perfectly along the edge so that the excess can be easily removed. Repeat for all the shells, any excess dough can be pressed together and rolled out to make more shells
- Use a fork to poke holes all over the base of the tart dough
- Cut parchment paper into 13x13cm squares. Place them over the dough. Pour baking weights (check tips below) over the parchment and fill the whole tart mould. This will keep the shell in shape while it bakes
- Place into the oven at 180°C and bake for 15min then remove the weights and parchment paper. Place the shells back into the oven to finish baking for 10min or until the shells are golden and crispy
- Remove them from the mould and let it cool completely on a wire rack
FILL TARTS-
- Remove the clingfilm from the cold lemon curd. Whisk the mixture just until smooth and transfer into a piping bag
- Pipe the curd into the tart shells, then use the back of a spoon to help smooth the surface
- Place it into the fridge to set
MERINGUE-
- Using an electric whisk, whip egg whites until slightly foamy then add cream of tartar
- Whip on high speed until it doubles in size and forms stiff peeks
- Add 1 tablespoon of sugar at a time and continue to whip the mixture on high
- Once all the sugar has been added, add the salt and vanilla extract
- Whip until all the sugar has dissolved and it forms stiff peaks
DECORATE-
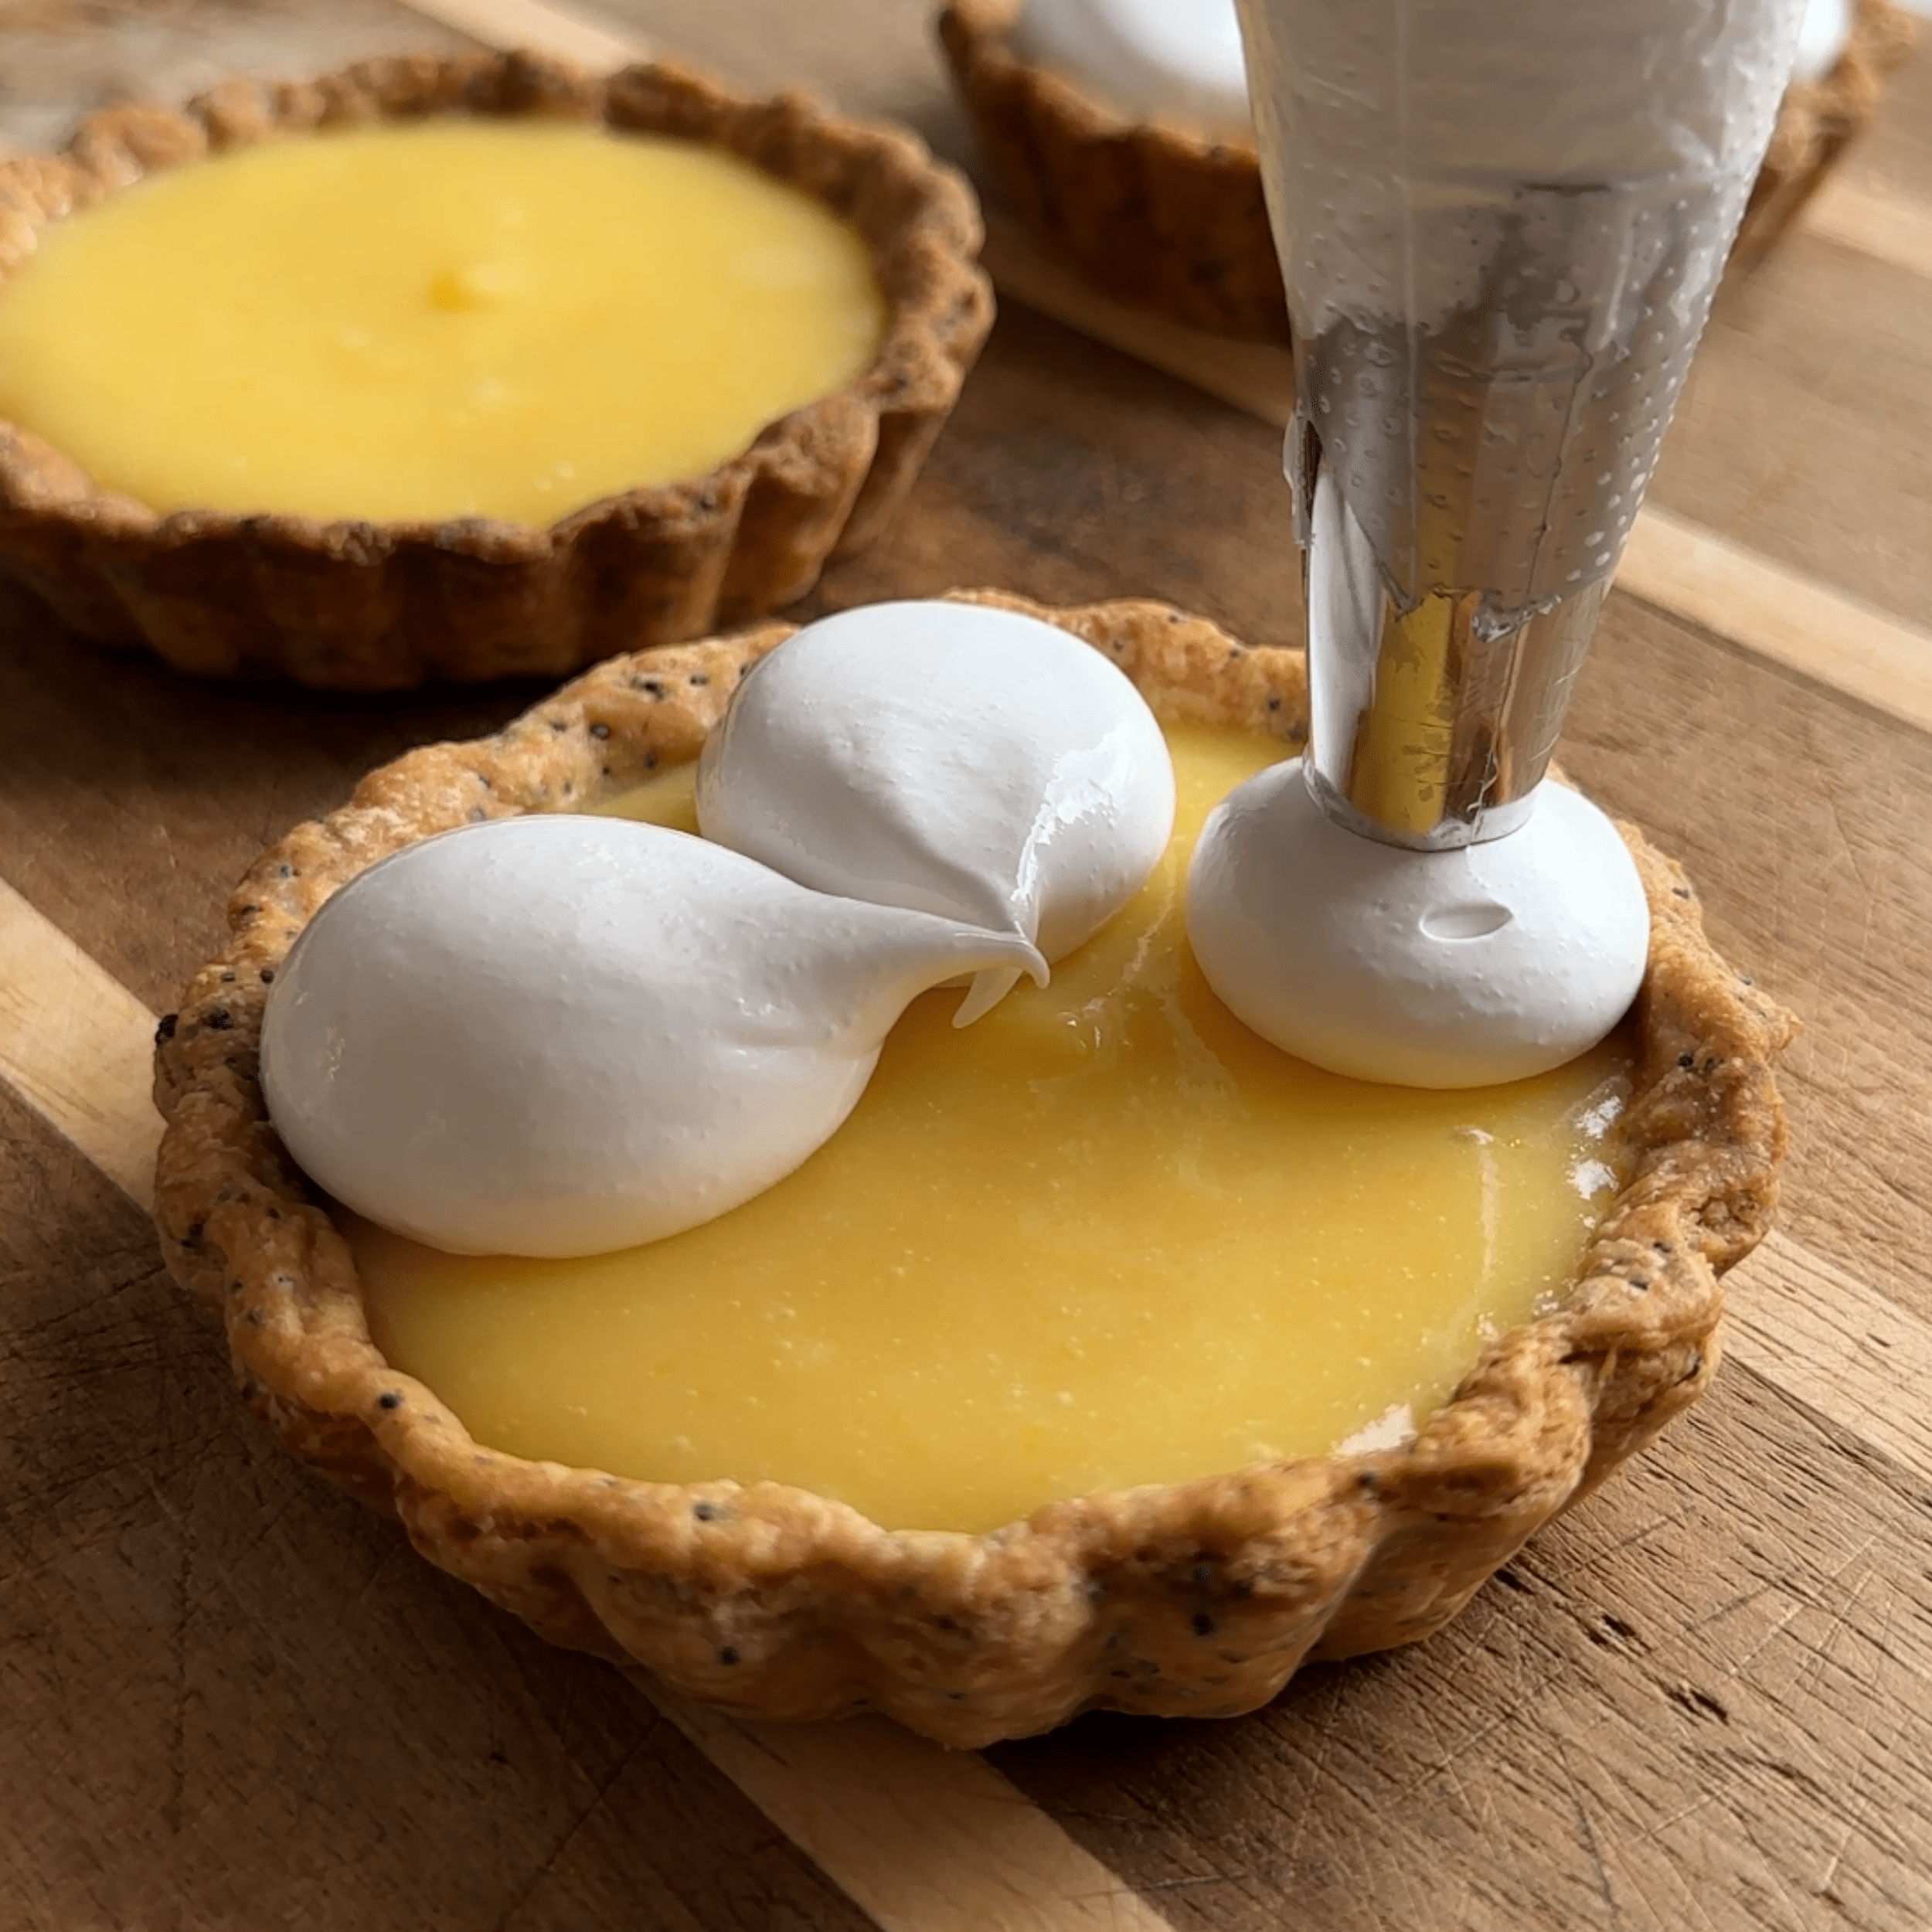
- Pip the meringue onto the lemon tart. To achieve the flower design in the images, use a round tip piping nozzle and start at the edge. Apply pressure and drag towards the centre to release. Repeat to get 5 total petals until a flower forms
- Using a torch, gently torch the surface of the meringue until golden
TIPS
Baking weights: Use rice or dried beans – they are cheaper and more convenient to find in shops!
Make this recipe easier to manage: The recipe may seem long and feel overwhelming to pull off in one day. Remember, you can make the components ahead of time so that you only need to assemble the tarts on the day they are needed. The lemon curd can be pre-made and stored in an airtight container. Pre-made shells will stay crispy if you don’t fill it. On the day, just make the meringue, filled the tart, and decorate!
No tart moulds: If you do not own any tart moulds you can make these in a non-stick cupcake trays! They become super cute mini tarts!